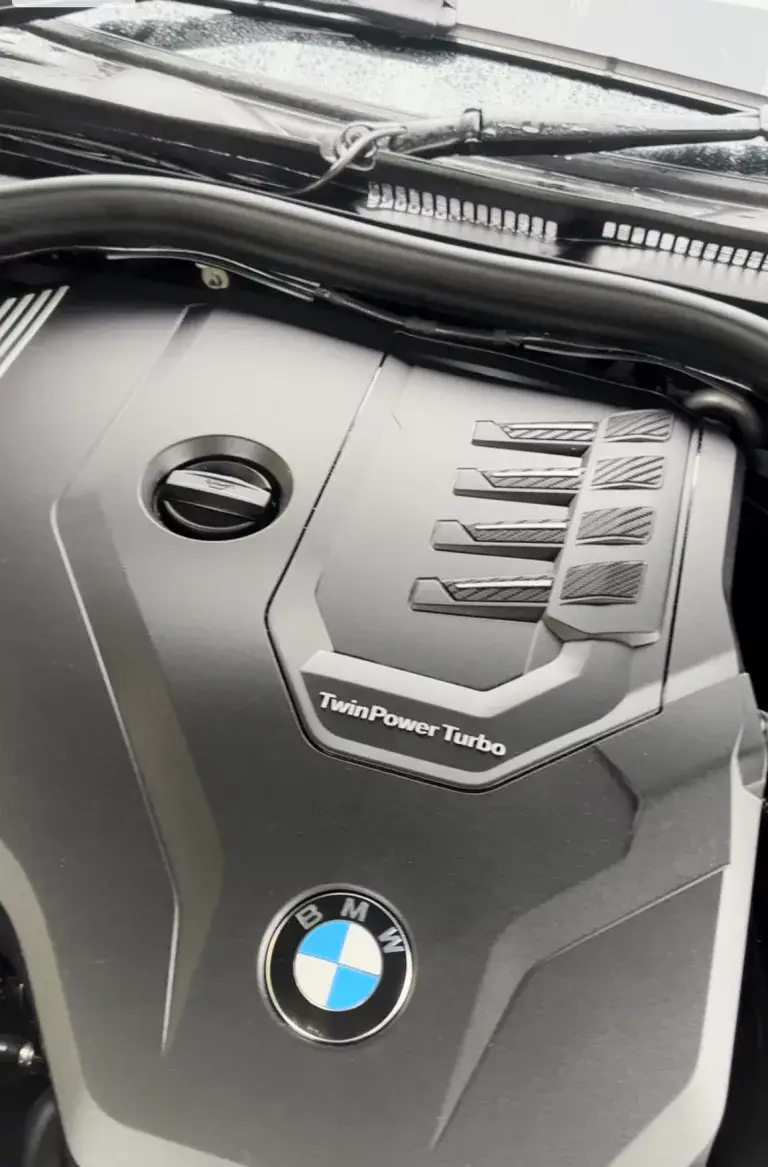
Engine Bay Cleaning: Beneath the Bonnet
Hello, Today, we’re delving into the heart of your vehicle, the engine bay. While it might not be the first thing that comes to mind when you think of car valeting, a clean engine bay is like a well-kept secret waiting to be discovered. So, let’s roll up our sleeves, open that hood, and uncover the art of engine bay cleaning.
Why Engine Bay Cleaning Matters
Before we dive into the process, let’s understand why keeping your engine bay clean is more than just a cosmetic choice:
1. Preventing Damage: A clean engine bay is less prone to corrosion, rust, and wear. Removing dirt and grime helps protect your engine’s components and wiring.
2. Detecting Issues: A tidy engine bay makes it easier to spot leaks, loose hoses, or worn-out belts, allowing for early detection and timely maintenance.
3. Resale Value: When it’s time to sell your car, a clean engine bay demonstrates proper care and can positively influence a potential buyer’s decision.
4. Aesthetic Appeal: Of course, it enhances your car’s overall looks. Opening the hood to reveal a pristine engine bay is a source of pride for many car owners.
Preparing for Engine Bay Cleaning
Here’s what you’ll need before embarking on your engine bay cleaning journey:
1. Safety First: Ensure your engine is cool to the touch to avoid burns. Disconnect the battery or cover sensitive electrical components with plastic bags if necessary.
2. Tools and Supplies: Gather your cleaning supplies, including a degreaser, a stiff-bristle brush, a hose with a nozzle, microfiber towels or an air compressor, and a plastic bag for covering the battery.
3. Optional: Engine Dressing: If you want to go the extra mile, consider an engine dressing product for a polished finish.
The Engine Bay Cleaning Process
Now, let’s get into the step-by-step process for cleaning your engine bay:
1. Preliminary Rinse: Begin by giving your engine bay a gentle rinse with water. Avoid using a high-pressure stream to prevent water from forcing its way into sensitive components.
2. Degreaser Application: Apply a suitable engine degreaser generously over the entire engine bay. Ensure even coverage, especially on greasy and dirty areas.
3. Brushing: Use a stiff-bristle brush to agitate the degreaser. Pay close attention to intricate areas and heavy grease buildup. A toothbrush can be handy for reaching tight spaces.
4. Rinse Thoroughly: Rinse off the degreaser and loosened dirt with your hose. Again, be cautious with water pressure around delicate components.
5. Drying: Let your engine bay air dry, or use microfiber cloths or an air compressor to speed up the process. Ensure it’s completely dry before proceeding.
6. Optional: Engine Dressing: If you wish to give your engine bay a polished look, apply an engine dressing product according to the manufacturer’s instructions.
7. Final Inspection: Take a moment to admire your work. Your engine bay should look refreshed and ready to impress.
In Conclusion
Engine bay cleaning is a rewarding part of car detailing that goes beyond aesthetics. It’s about maintaining your engine’s health, ensuring safety, and presenting your vehicle in the best possible light. So, the next time you pop the bonnet, be proud to showcase a spotless engine bay that reflects your dedication to automotive excellence. Happy detailing!


