Paint Correction: Perfecting Your Paint
Today, we’re delving into the meticulous world of paint correction, a process that can transform your car’s exterior into a flawless masterpiece. If you’re passionate about maintaining your vehicle’s appearance and achieving that head-turning, showroom-quality finish, then paint correction is a journey worth embarking on. In this guide, we’ll explore what paint correction is, why it’s essential, and how it can rejuvenate your car’s paintwork to perfection.
The Art of Paint Correction
Before we dive into the details, let’s understand the essence of paint correction. At its core, paint correction is a painstaking process of restoring and enhancing your car’s paint finish by eliminating surface imperfections, defects, and blemishes. These flaws can include swirl marks, fine scratches, water spots, oxidation, and more. Paint correction isn’t just about looks; it’s a meticulous craft that requires skill and precision.
Why Paint Correction Matters
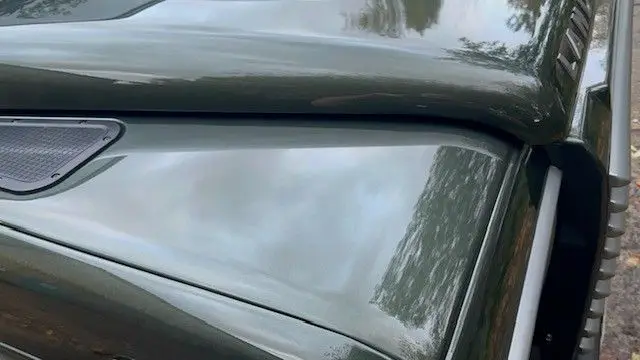
Flawless Looks: The primary goal of paint correction is to achieve a flawlessly smooth and reflective surface. When done correctly, it enhances the depth and clarity of your car’s paint, making it look better than new.
Increased Value: If you plan to sell your car in the future, having a well-maintained, defect-free paint finish can significantly increase its resale value.
Enhanced Protection: A properly corrected paint surface provides a better foundation for applying protective coatings like ceramic coatings or paint sealants. This ensures longer-lasting protection against environmental hazards.
The Paint Correction Process
Now, let’s delve into the step-by-step process of achieving paint perfection:
1. Vehicle Assessment: Start by evaluating your car’s paintwork to identify the extent of imperfections. This assessment helps determine the level of correction needed.
2. Wash and Decontaminate: Thoroughly wash your car to remove surface dirt and contaminants. Use a clay bar to further decontaminate the paint surface, ensuring it’s clean and smooth.
3. Paint Measurement: Use a paint thickness gauge to measure the thickness of the paint on various panels. This step is crucial to avoid over correction, which can damage the paint.
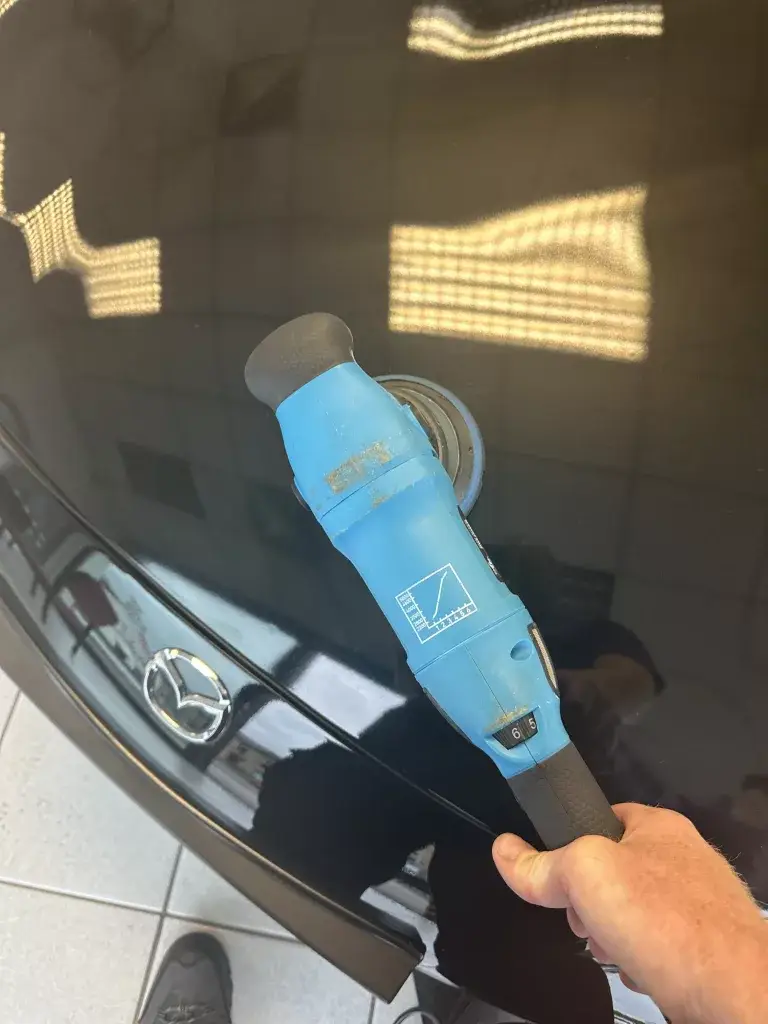
4. Compound Application: Apply a cutting compound to a foam or microfiber pad attached to a machine polisher. Work in small sections, applying even pressure and making multiple passes until the imperfections are removed.
5. Polish: After using a cutting compound, switch to a finer polish to refine the paint surface further. This step enhances clarity and gloss.
6. Final Inspection: After correction, carefully inspect the paint under different lighting conditions to ensure that all imperfections are addressed.
7. Protect: To maintain the freshly corrected finish, consider applying a protective coating, such as a ceramic coating or paint sealant. These coatings offer long term protection and enhance the paint’s appearance.
8. Ongoing Maintenance: Regular maintenance, including gentle washing and proper drying techniques, will help preserve the corrected finish and protect it from new imperfections.
In Conclusion
Paint correction is a transformative process that takes your car’s exterior to the pinnacle of perfection. It’s not just about making your vehicle look stunning; it’s about preserving its value and ensuring long- term protection against the elements. Whether you’re a seasoned detailing enthusiast or a novice looking to elevate your car’s appearance, paint correction is a rewarding process that can truly make your vehicle shine like never before. So, take the leap into the world of paint correction, and let your car’s paintwork reach its full potential.
If your skill levels arn’t able to manage this level of detailing then get in touch with a professional detailer , who will be able to guide you through this process and get your car looking amazing.


