Bug Removal: From Pests to Shine
We’re going to be tackling a common issue that every car owner encounters: bugs. Those pesky critters seem to have a knack for leaving their mark on our beloved vehicles. But fear not! In this guide, we’ll explore the art of bug removal and how you can transform those annoying pests into a shining, spotless exterior.
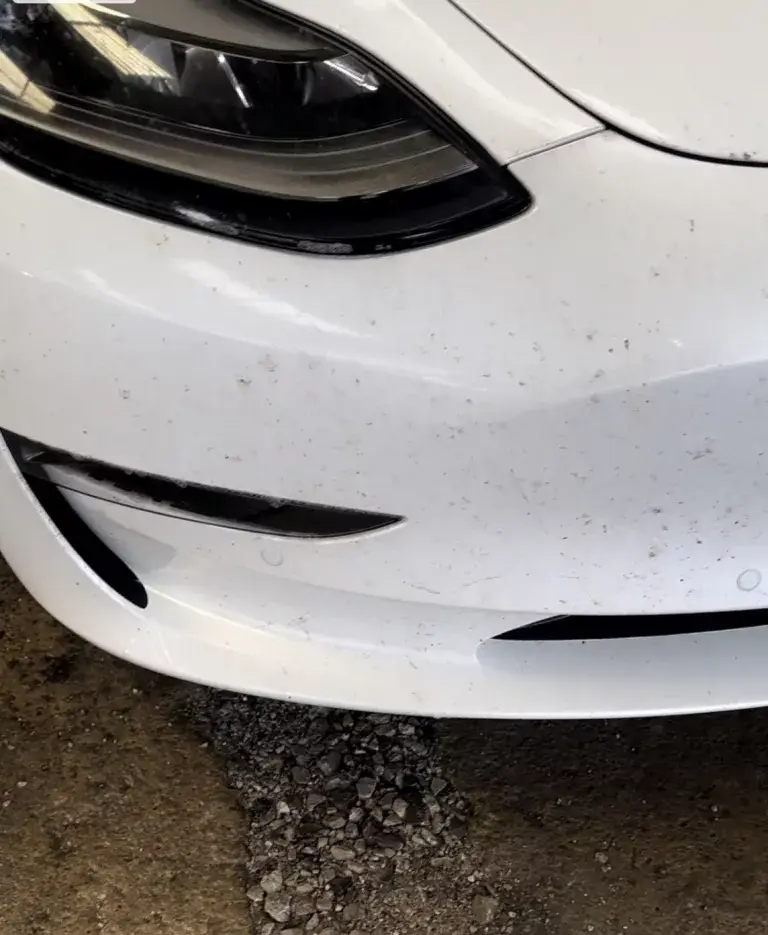
The Bug Problem: An Unwanted splat
If you’ve ever taken a road trip or even just a short drive during bug season, you know the struggle. Bugs, whether they’re splattered on your windscreen, grille, or paint, can quickly accumulate and become an eyesore. Beyond their unsightly appearance, dried bug remains can also damage your car’s finish if left unaddressed.
Why Bug Removal Matters
Before we dive into the bug removal process, let’s understand why it’s essential:
1. Preserving Your Car’s Finish: Dried bug residue can be acidic and corrosive, potentially harming your car’s paint and clear coat. Regular removal helps maintain your vehicle’s appearance.
2. Improve Visibility: Bugs on your windscreen obstruct your view of the road, creating safety hazards. Effective bug removal ensures a clear line of sight.
3. Aesthetic Appeal: Nobody wants their car covered in bug splatters. Removing them enhances your car’s appearance and keeps it looking pristine.
The Bug Removal Process
Now, let’s get into the nitty gritty of transforming bug splatters into a spotless shine:
1. Gather Your Supplies: You’ll need bug removal products, a microfiber cloth or wash mitt , a bucket of warm, soapy water, and a hose.
2. Wash: Start by washing the affected areas and the whole car. Use your hose to spray the bug-splattered areas with water. This helps soften and loosen the dried residue, making it easier to remove.
3. Apply Bug Remover: Follow the instructions on your chosen bug removal product. Typically, you’ll spray it directly onto the bug-covered surfaces. Allow it to sit for a few minutes to break down the bugs.
4. Gently Agitate: Use a microfiber towel or sponge to gently agitate the bug residue. Work in a back-and-forth or circular motion, applying slight pressure. Avoid scrubbing too vigorously to prevent scratching your car’s finish.
5. Rinse Thoroughly: After agitating, rinse the treated areas with clean water. Ensure that all bug remnants and the bug remover product are completely washed away.
6. Repeat If Necessary: For stubborn bug splatters, you might need to repeat the process. Patience is key to achieving a spotless result.
7. Dry and Inspect: After bug removal, dry your car’s exterior with a clean microfiber towel. Inspect the treated areas to confirm that all bugs have been successfully removed.
8. Wax and Protect: To prevent future bug residue from adhering as stubbornly, consider applying a quality car wax or sealant. This protective layer makes it easier to remove bugs during your next cleaning session.
In Conclusion
Bug removal may not be the most glamorous aspect of car care, but it’s undoubtedly a crucial one. By promptly addressing bug splatters, you protect your car’s finish, ensure optimal visibility, and maintain its overall looks. So, the next time you’re faced with a horde of bug remains, arm yourself with bug removal know how and restore your car’s shine, one bug at a time. Safe driving, bug-free!


